If you'd prefer to see how I edited this photo in a video, check out my latest YouTube post!
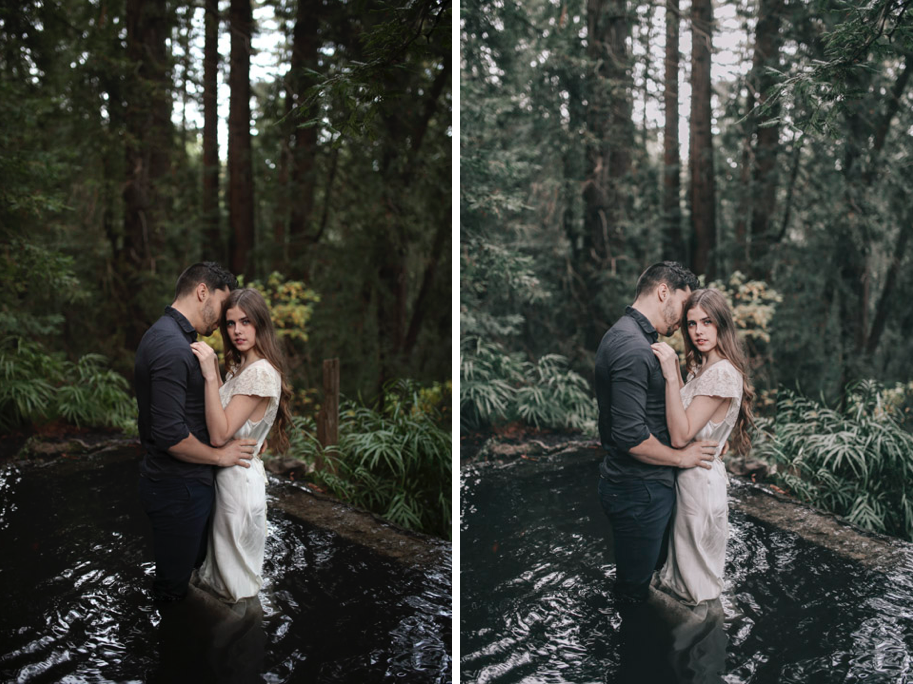
1. Apply preset 400H+1 from VSCO Film Pack 6. 2. Remove grain. 3. Lens Corrections > Enable Profile Corrections > Sigma > Increase vignette to 153 4. +20 exposure 5. -11 contrast 6. -1 tint 7. +4 saturation - default red shadows (split toning) 8. -70 highlights 9. +91 blacks 10. +71 shadows 11. -15 whites 12. -11 saturation 13. +2 vibrance 14. +5 clarity 15. lift left corner of tone curve to add matte blacks 16. -64 green saturation 17. +15 green hue 18. -59 yellow saturation 19. -53 blue saturation
Note: the settings I didn't mention had the defaults that are applied with the preset! I also gave the settings for the original edit, not the live edit in the video.

I hope you found this written step-by-step process to be useful!